Before / After Image Widget
Overview
The Before / After after widget enables you to show two images, side by side, for an eye-catching and engaging visual comparison. The widget includes a customizable slider to move between the two images.
Steps to Add Before / After Image Widget
- To add the widget:
- In the left panel, click Widgets.
- Click and drag the Before & After widget into your site.
- Content Editor
- Right-click the widget, and click Edit Content.
- Click + Image to add the before and after images.
- To simplify the confusion about what is the before and after images it's recommended the artist renames images before-## and after-## prior to uploading.

- Before images are always on left; After images are displayed on right.
- Type labels for the images. To hide the labels, toggle the orange eye icon on.
- Type Alt text for the images.
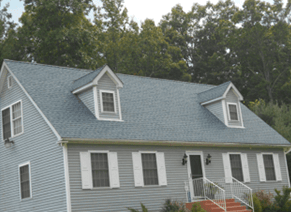
- residential roof replacement - before
- residential roof replacement - after
- Design Editor
- Right-click the widget, and click Edit Design.
- To customize the images and slider, click Images & Slider.
- Displayed image should never exceed actual width
- The displayed before and after image should be the same size regardless if one image is larger than the other.
- To customize the label style and text, click Labels
- Use the default Before and After labels unless instructed otherwise


If client has multiple groups of before and after images we recommend using a single gallery for each project instead of having multiple sets of before and after images. Arrange the before / after images in a logical and intuitive sequence to ensures that users can easily compare the changes. To provide better understanding, include descriptive captions whenever possible, giving users more context and enhancing their overall experience.
Privacy Policy
| Do Not Share My Information
| Conditions of Use
| Notice and Take Down Policy
| Website Accessibility Policy
© 2024
The content on this website is owned by us and our licensors. Do not copy any content (including images) without our consent.